IoT with Blazor on Raspberry Pi Part 5 - DHT Sensor

Hopefully, you read Part 4 of this series and thus have SignalR distributing the LED status, congrats!
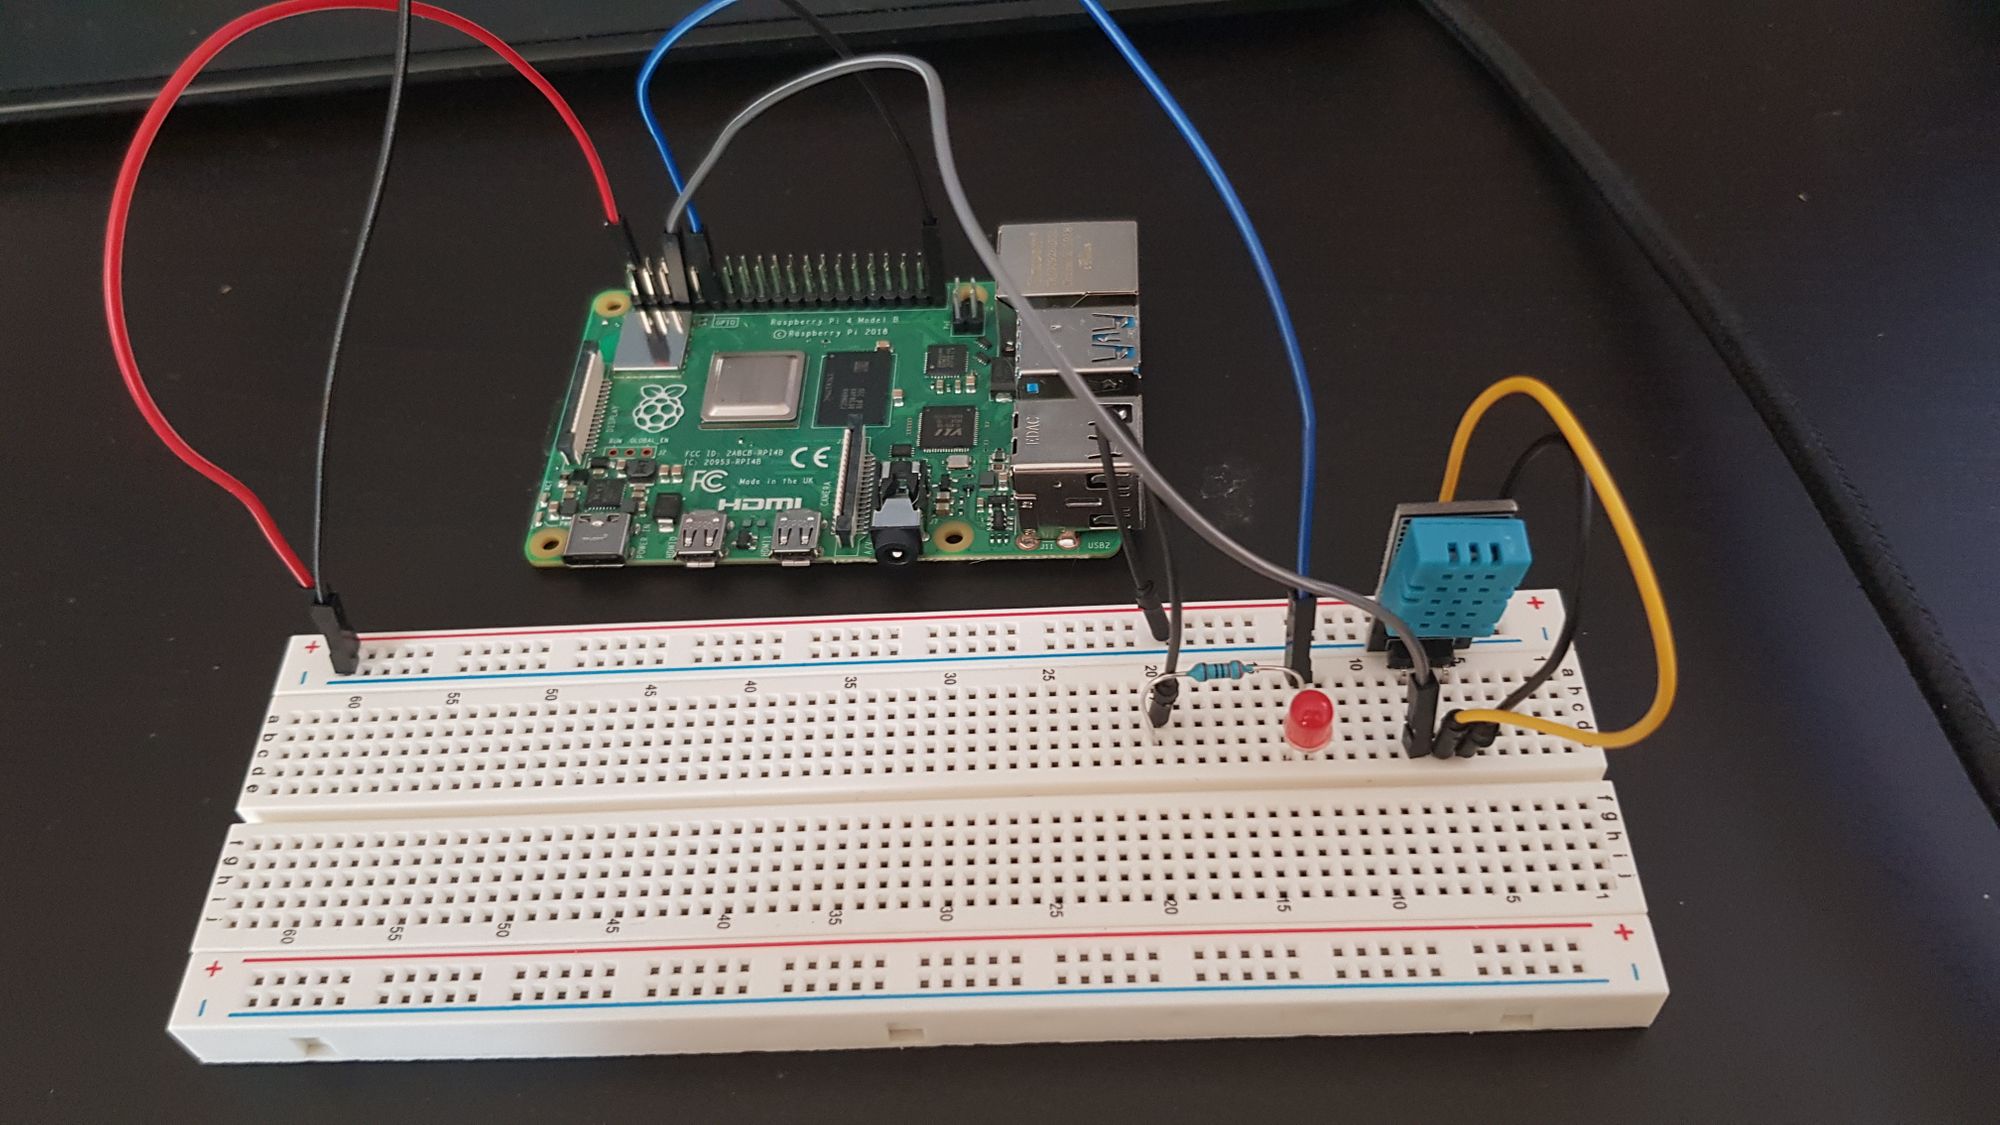
Now that we have set up a method of sending switching commands to an LED let's wrap up by reading data from a DHT11 sensor.
Update View
For simplicity, let's update the view we already created. Inside the Led.razor file, we need to add a new string to hold the data and wire-up the HubConnection.
@page "/led"
@inject HttpClient Http

<h1>Led Toggle</h1>

<p>Current On: @toggle</p>
<button class="btn btn-primary" @onclick="ToggleLed">Toggle</button>
<p>
    Climate Data: @climateData
</p>
@code {
    bool toggle = false;
    [Inject] private HubConnectionBuilder _hubConnectionBuilder { get; set; }
    private Func<bool, Task> handleSwitchStatus;
    private Func<string, Task> handleDhtStatus;
    private string climateData = "no data!";

    protected override async Task OnInitializedAsync()
    {
        handleSwitchStatus += ReceiveSwitchStatus;
        handleDhtStatus += ReceiveDhtStatus;
        var gpioConnection = _hubConnectionBuilder // the injected one from above.
        .WithUrl("/gpio", // The hub URL. If the Hub is hosted on the server where the blazor is hosted, you can just use the relative path.
        opt =>
        {
            opt.LogLevel = SignalRLogLevel.Trace; // Client log level
            opt.Transport = HttpTransportType.WebSockets; // Which transport you want to use for this connection
        })
        .Build(); // Build the HubConnection

        gpioConnection.On("ReceiveSwitchStatus", this.handleSwitchStatus); // Subscribe to messages sent from the Hub to the "Receive" method by passing a handle (Func<object, Task>) to process messages.
        gpioConnection.On("ReceiveDhtStatus", this.handleDhtStatus);
        await gpioConnection.StartAsync(); // Start the connection.
    }

    Task ReceiveSwitchStatus(bool arg)
    {
        toggle = arg;
        StateHasChanged();
        return Task.CompletedTask;
    }

    Task ReceiveDhtStatus(string arg)
    {
        climateData = arg;
        StateHasChanged();
        return Task.CompletedTask;
    }

    async Task ToggleLed()
    {
        toggle = !toggle;
        await Http.SendJsonAsync(HttpMethod.Post, "LED", toggle);
    }
}
Create POCO to hold the Data
In the shared project, create a new file called TemperatureData.cs, which is a Plain Old C(#) Object to hold the sensor data.
using System;
using System.Collections.Generic;
using System.Text;

namespace Blazor.Pi.Shared
{
    public class TemperatureData
    {
        public double Temperature { get; set; }
        public double Humidity { get; set; }
        public bool IsLastReadSuccessful { get; set; }
    }
}
Add the DHT Service
Rather than calling a controller from the client, we will add a background service to the server that pushes updates to any registered clients.
Create a new folder in the server project called Services and add a new file called DHTService.cs. Most of the content of this file is just the standard HostedService boilerplate code, the only thing to pay attention to is that, inside the DoWork method, you must read the value of the IsLastReadSuccessful property before attempting to read either the Celsius or Humidity properties, as their values are only populated after checking IsLastReadSuccessful.
using Iot.Device.DHTxx;
using Microsoft.AspNetCore.SignalR;
using Microsoft.Extensions.Hosting;
using Microsoft.Extensions.Logging;
using Blazor.Pi.Server.Hubs;
using Blazor.Pi.Shared;
using System;
using System.Collections.Generic;
using System.Device.Gpio;
using System.Linq;
using System.Threading;
using System.Threading.Tasks;

namespace Blazor.Pi.Server.Services
{
    internal class DHTService : IHostedService, IDisposable
    {
        private readonly Dht11 _dht;
        private readonly ILogger _logger;
        private Timer _timer;
        private readonly IHubContext<GPIOHub> _hubContext;

        public DHTService(
            ILogger<DHTService> logger,
            Dht11 dhtController,
            IHubContext<GPIOHub> hubContext
            )
        {
            _hubContext = hubContext;
            _dht = dhtController;
            _logger = logger;
        }

        public Task StartAsync(CancellationToken cancellationToken)
        {
            _logger.LogInformation("DHT Service is starting.");

            _timer = new Timer(DoWork, null, TimeSpan.Zero,
                TimeSpan.FromSeconds(2));

            return Task.CompletedTask;
        }

        private void DoWork(object state)
        {
            _logger.LogInformation("DHT Service is working.");
            var temperature = new TemperatureData {
                Temperature = _dht.Temperature.Celsius,
                Humidity = _dht.Humidity,
                IsLastReadSuccessful = _dht.IsLastReadSuccessful,
            };
            if (temperature.IsLastReadSuccessful)
            {
                _hubContext.Clients.All.SendAsync("ReceiveDhtStatus",$"Temperature: {_dht.Temperature.Celsius.ToString("0.0")} °C, Humidity: {_dht.Humidity.ToString("0.0")} %");
            }

        }

        public Task StopAsync(CancellationToken cancellationToken)
        {
            _logger.LogInformation("DHT Service is stopping.");

            _timer?.Change(Timeout.Infinite, 0);

            return Task.CompletedTask;
        }

        public void Dispose()
        {
            _timer?.Dispose();
        }
    }
}
I had initially attempted to send the TemperatureData result directly to the client. However, the client was having issues deserialising the JSON payload, so instead, I resorted to sending the result as a string for the time being.
Register with DI
Now we need to update Startup.cs on the server to register the DHT sensor itself, and the DHTService that will read from it. To do this, add the namespace references for using Blazor.Pi.Server.Services; and using IoT.Device.DHTxx;. Then we update the ConfigureServices method, firstly to register the DHT device on the pin we selected earlier, and register the HostedService we just created.
services.AddSingleton(new Dht11(4));
services.AddHostedService<DHTService>();
The moment of truth!
Now you should be able to run the server, visit the same LED page and get a live reading of your sensor data from any machine on your network! Here's a little GIF showing the results updating as I blow hot air onto the sensor.

While this series has attempted to demonstrate the most straightforward usage of these technologies, hopefully, it has given enough information to get you started with more complex projects. If you have any trouble with your version of the project, you can find the working version I created for this series on my GitHub
