IoT with Blazor on Raspberry Pi Part 2 - Lets get Setup

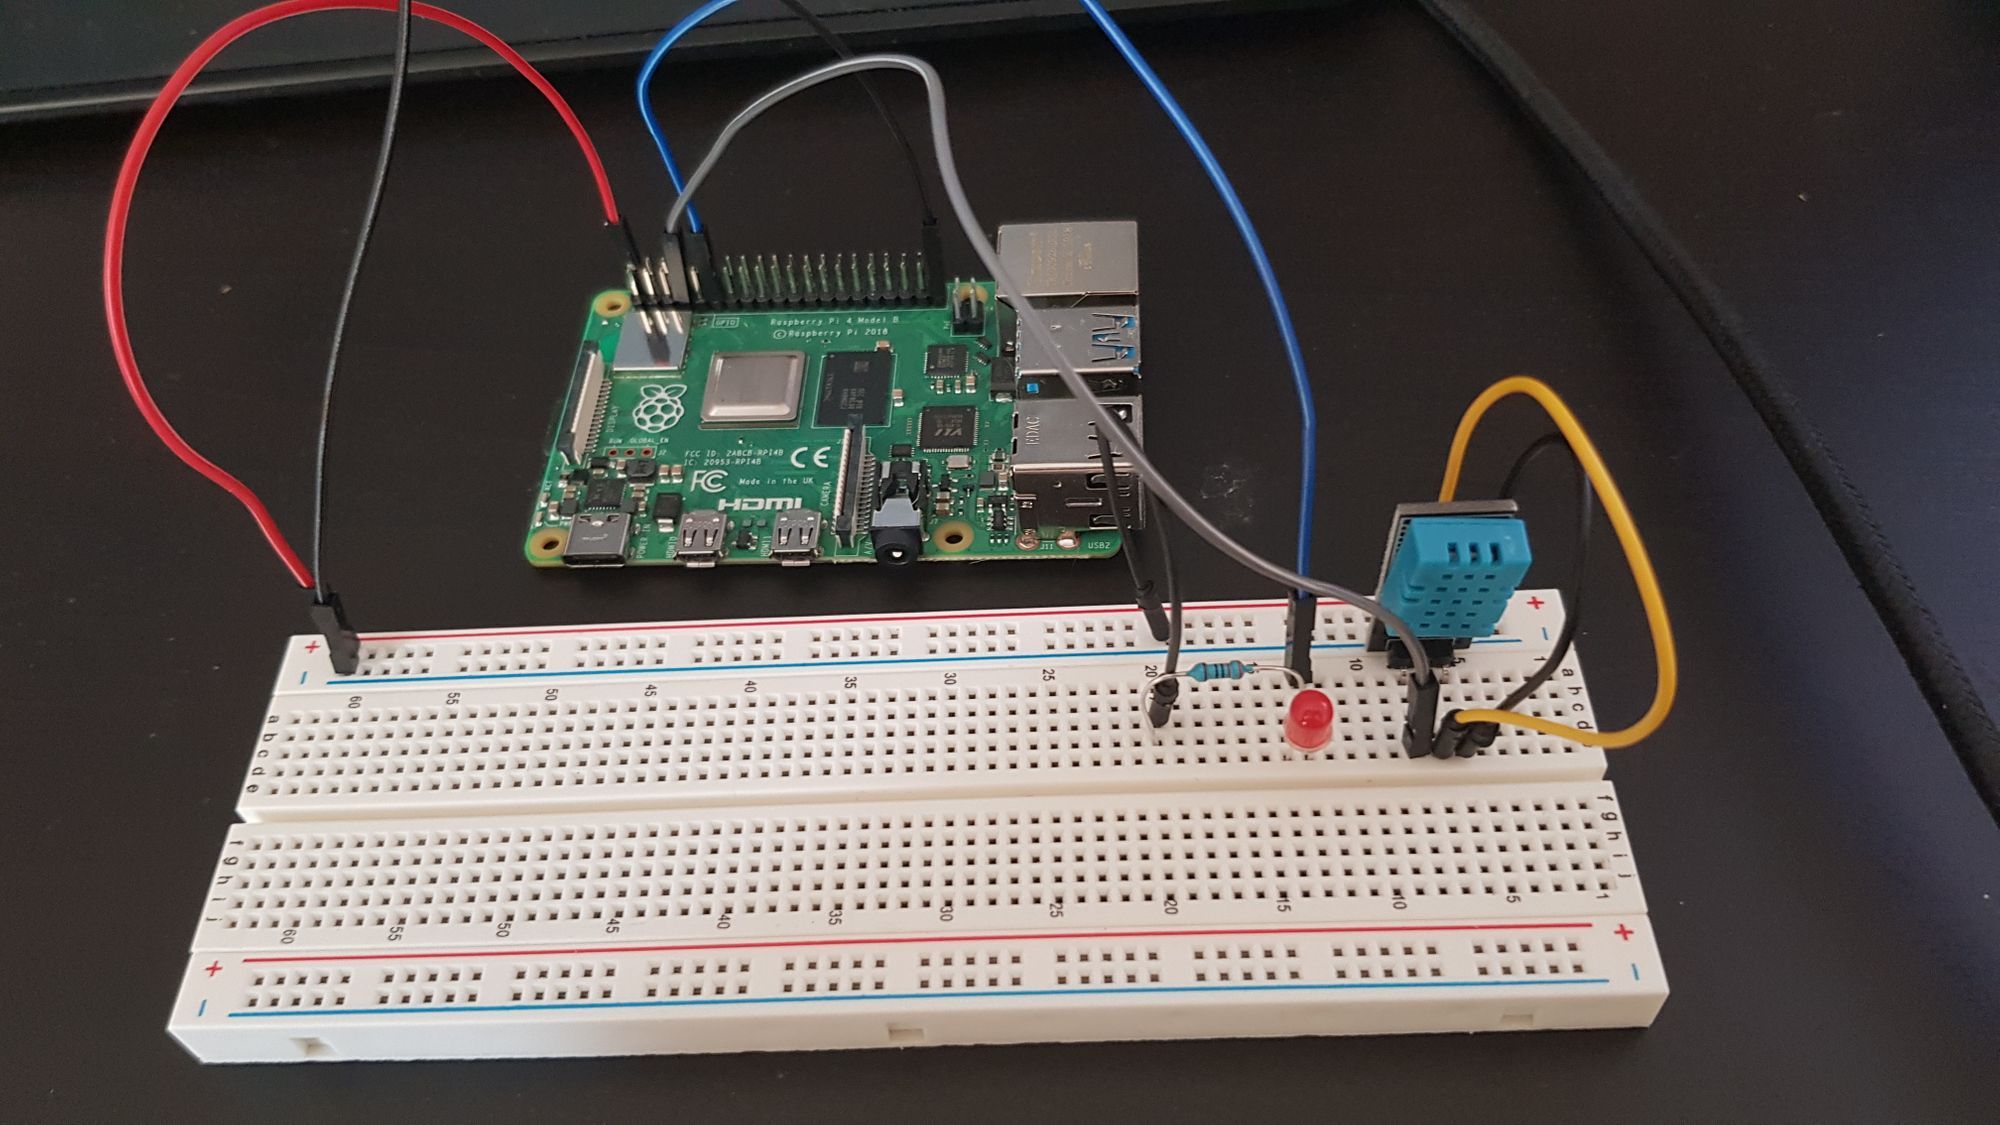
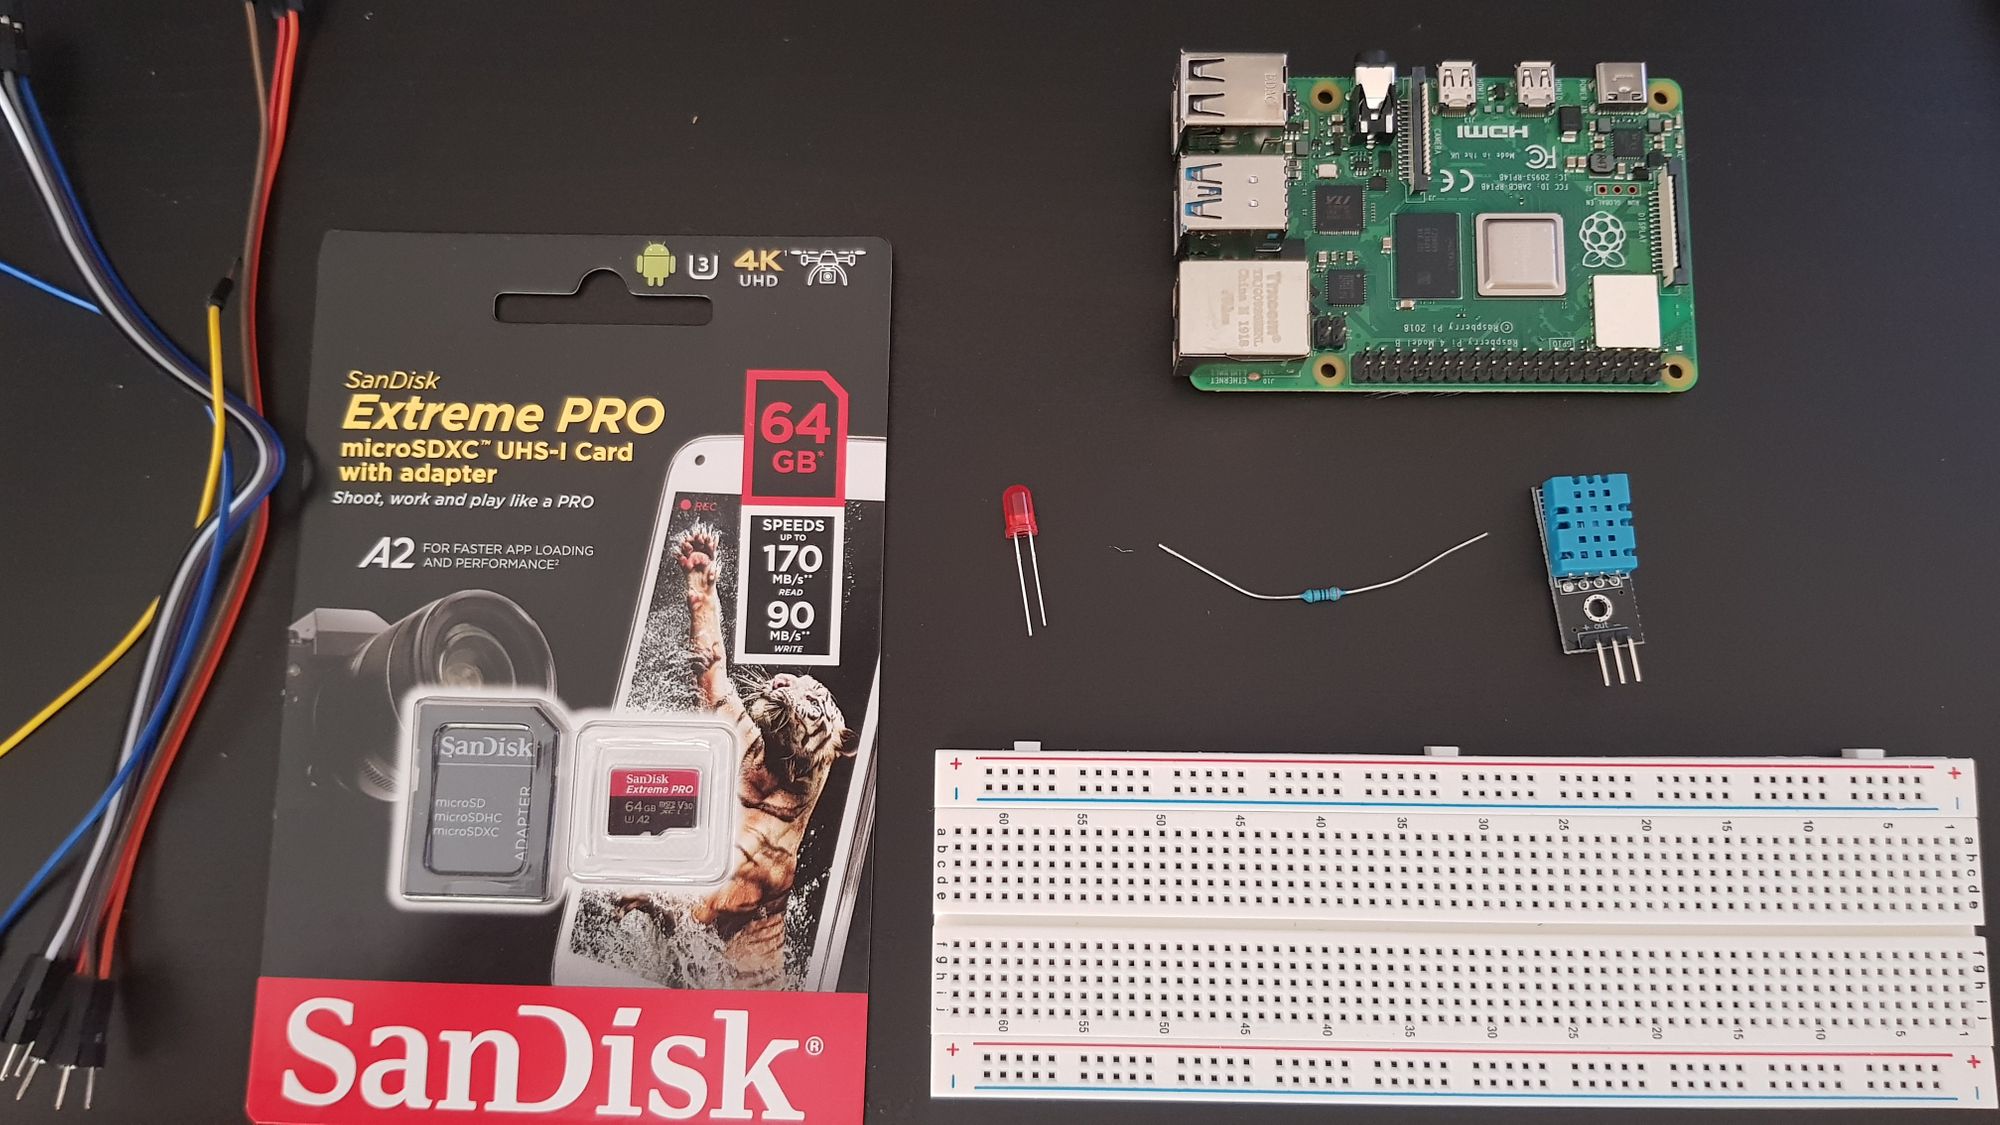
Hopefully, you read Part 1 of this series and thus acquired the requisite bits, congrats!
Get your Raspbian image
Firstly, you are going to need an OS to run on your Pi. In this example, I'm using the latest official Raspbian image which at the time of writing is Buster. This example will work on either lite or desktop. However, if you want to use the touch screen, you will need to use the desktop.
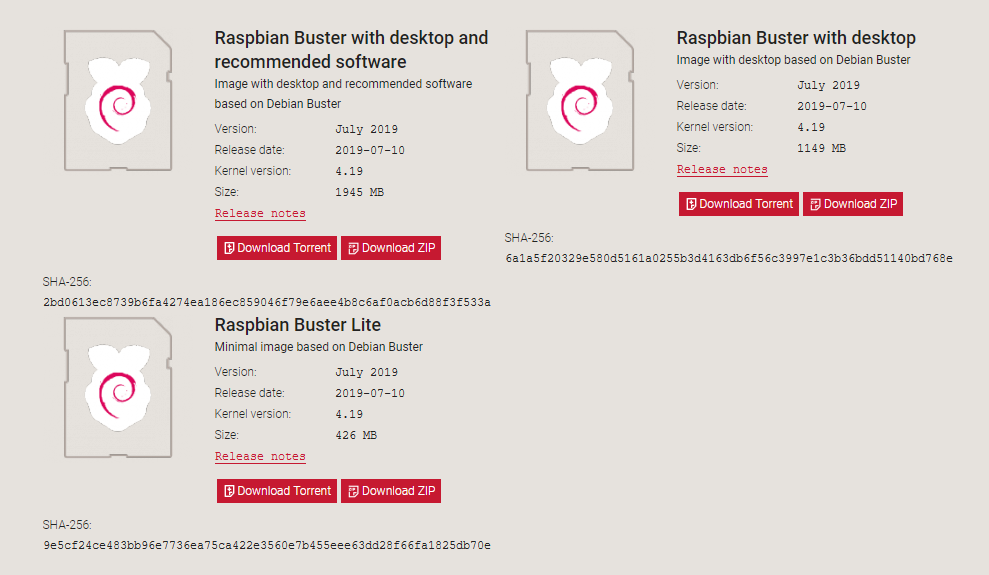


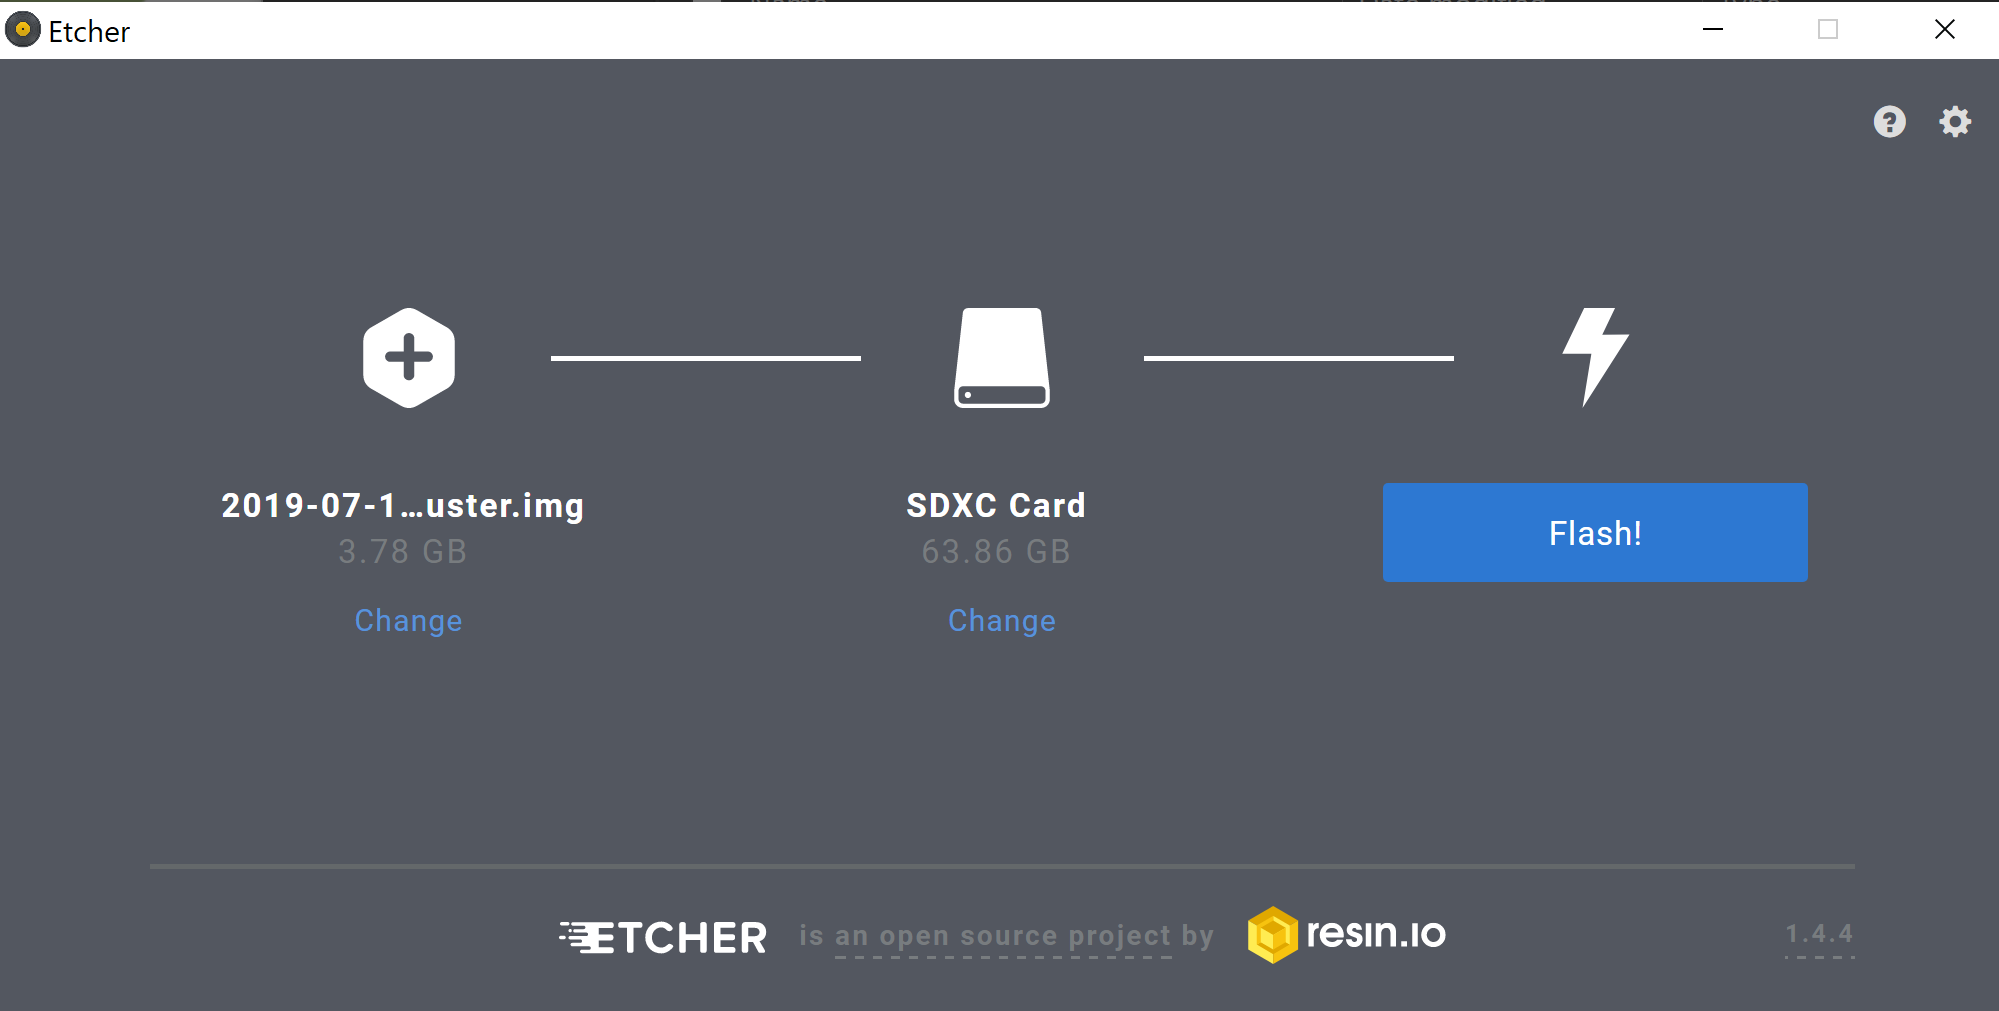
Image your flash drive
If you don't already have a program capable of writing images to a flash drive, I tend to use Etcher which is available for Linux, macOS and Windows.
Extract the Raspbian zip file you downloaded before, which should give you a .img file with the same name. Then point Etcher at the img file and tell it to flash. Time to get a drink as this will take a good 10 mins or so.

Check it works
Now we have a freshly imaged flash drive, let's check that the imaging was successful and that the Pi can boot, you should end up on a screen like below.
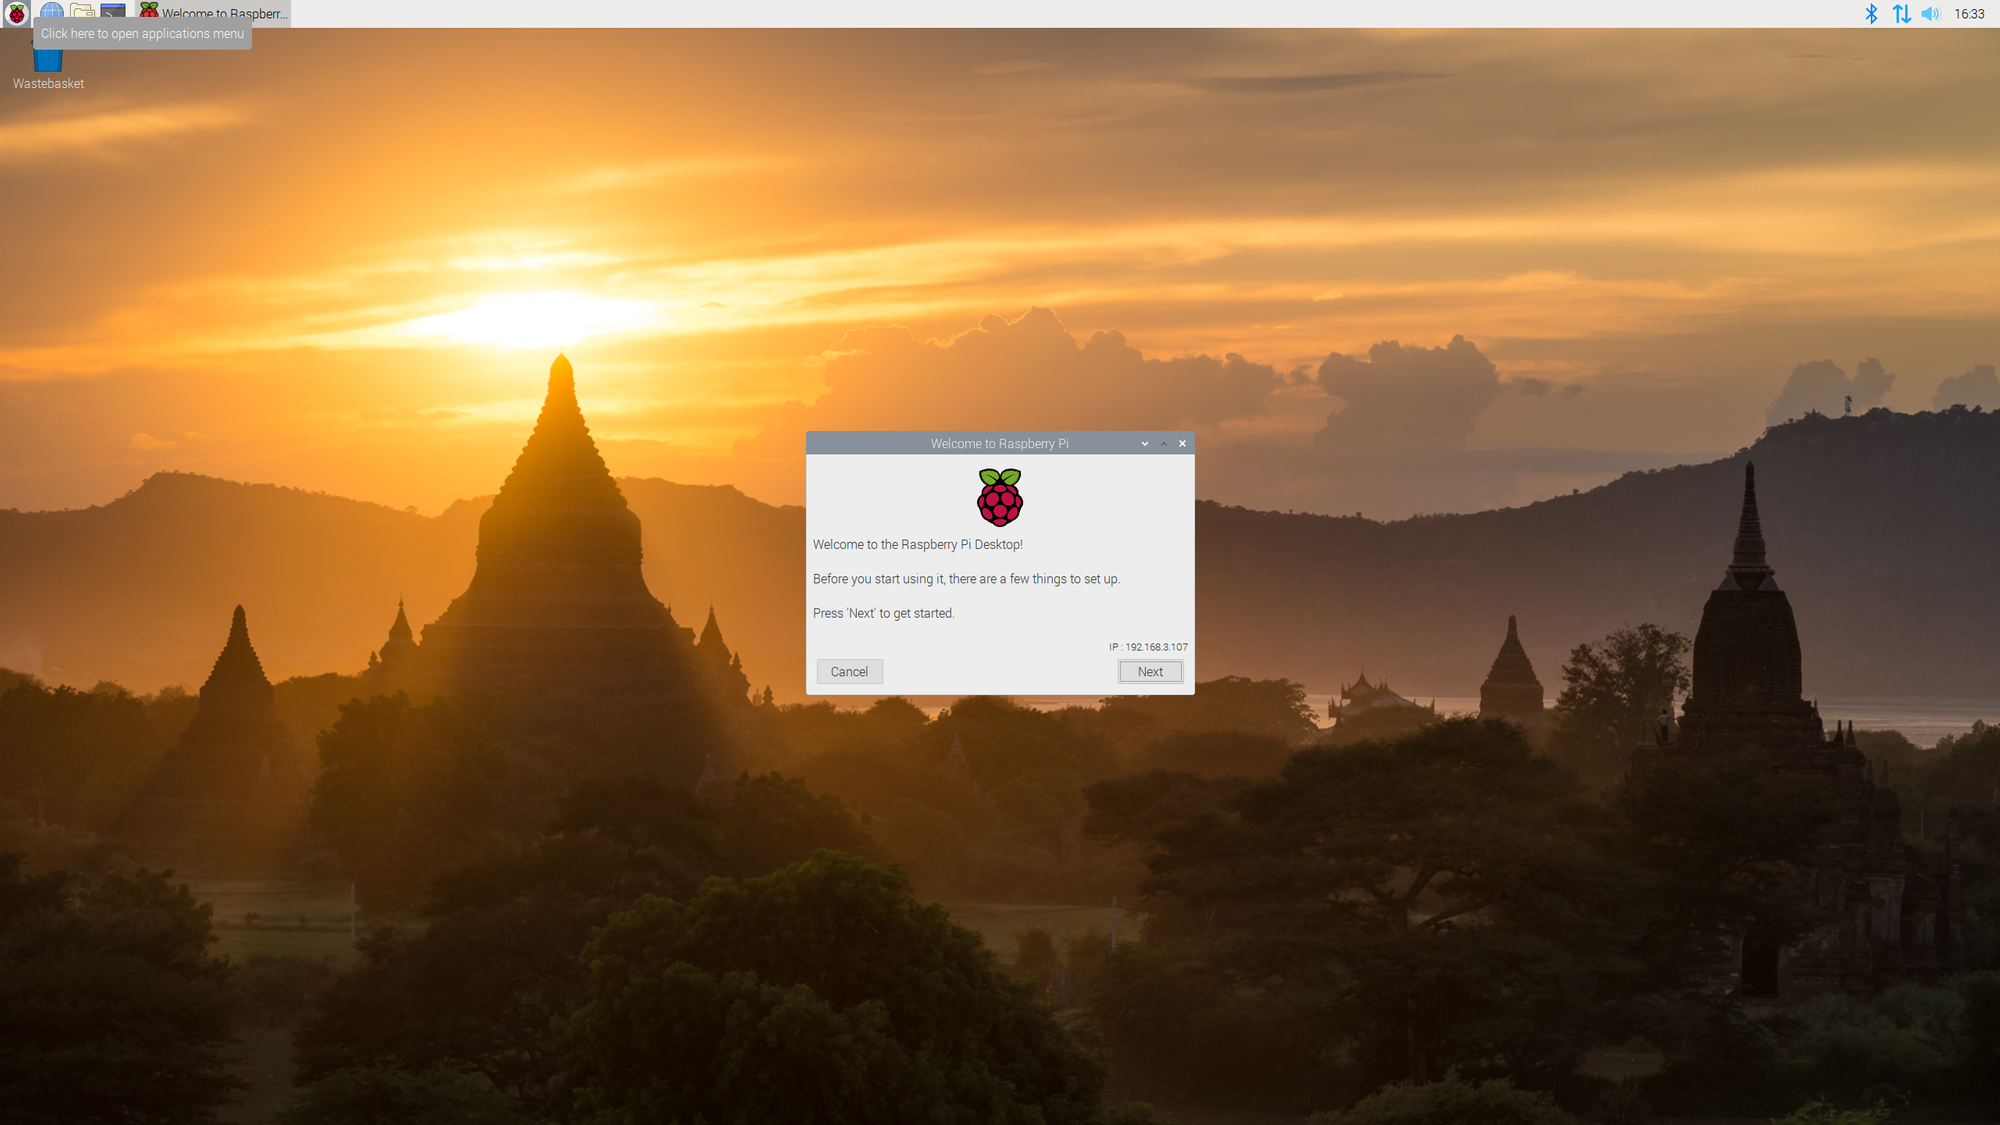
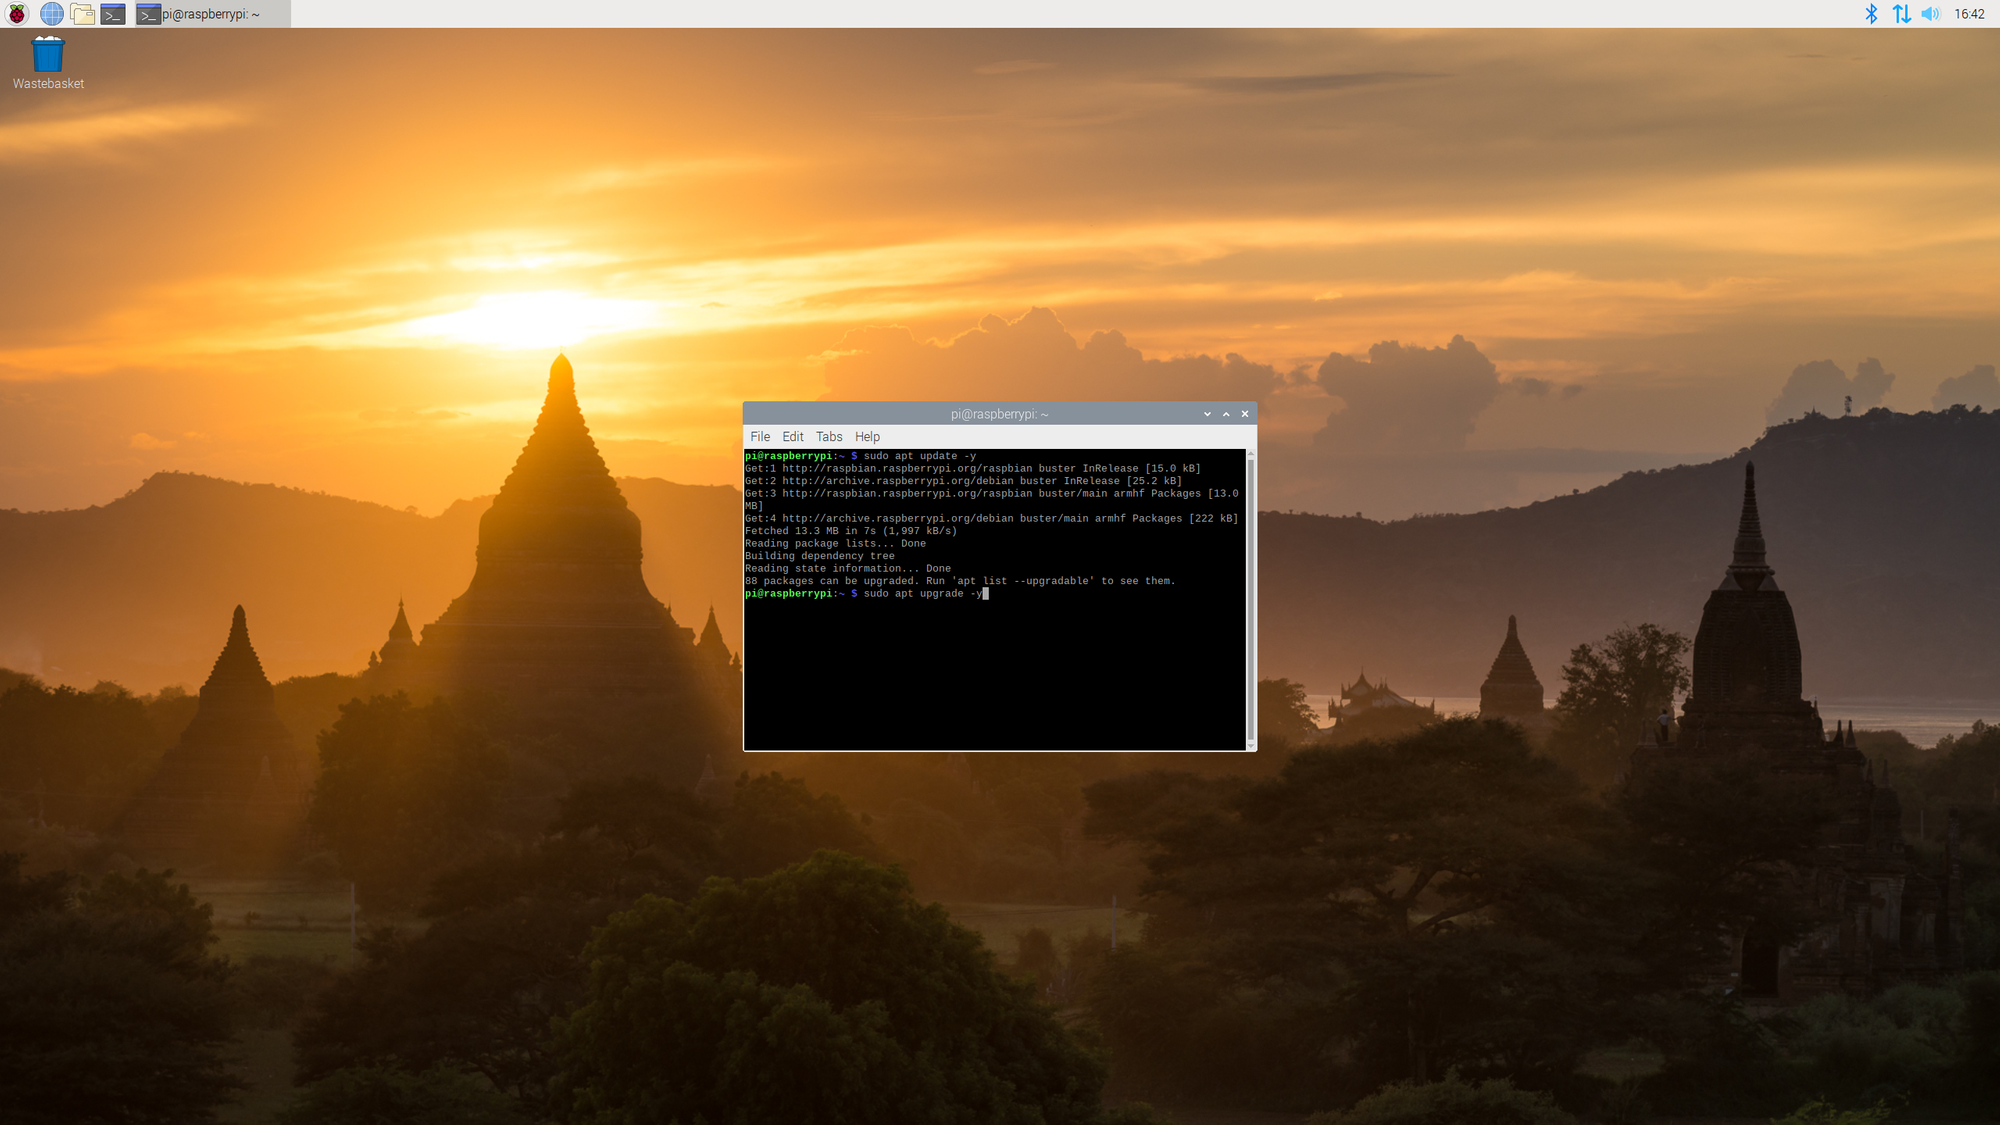
Go through the wizard to set up your language/keyboard layout, change the default password and then apply updates. I prefer to run the update/upgrade commands from the terminal.
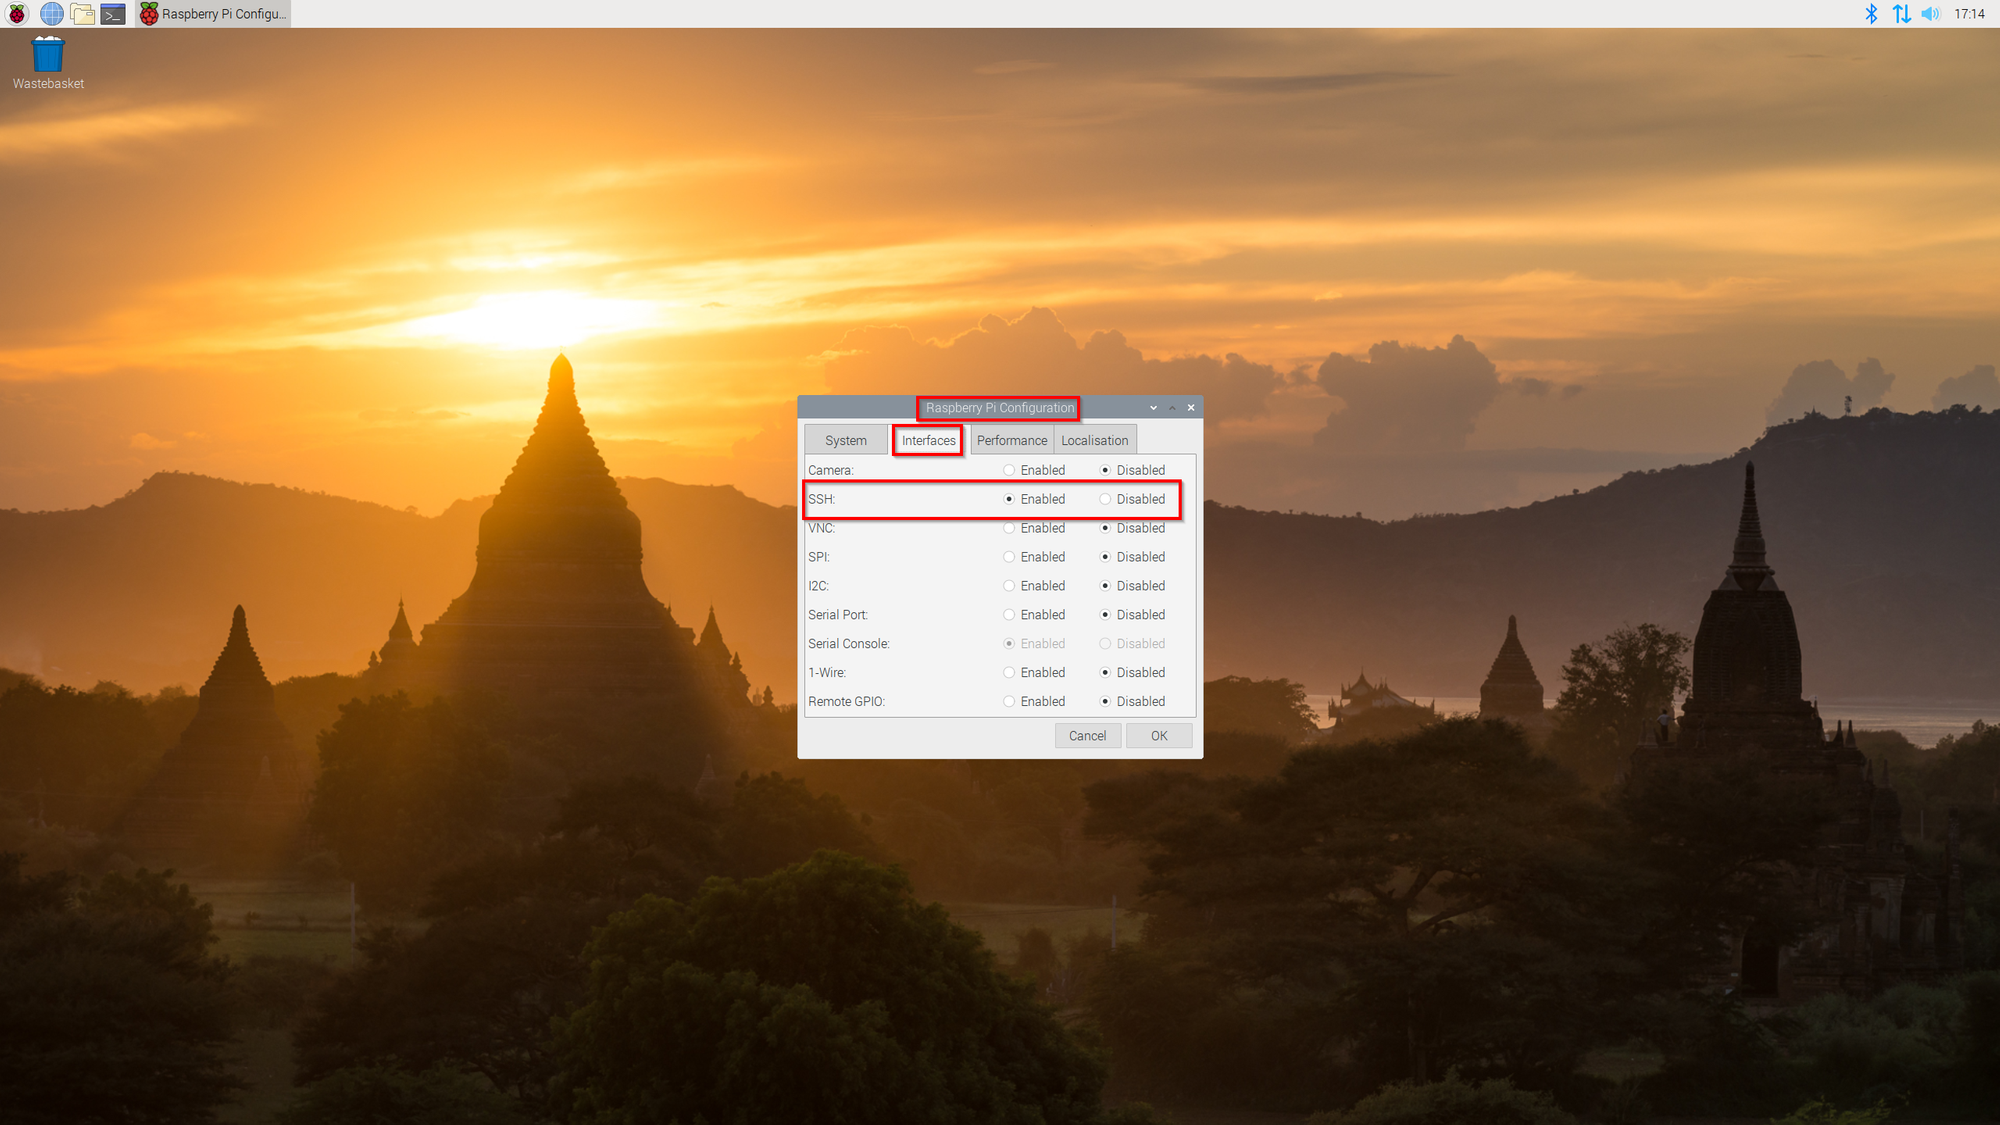
Next, you will want to enable SSH, which will allow us to use the new VSCode Remote Development feature. Go to the main menu and select Preferences > Raspberry Pi Configuration then select the Interfaces tab and Enable SSH.
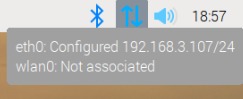
With SSH enabled, let's confirm that we can successfully connect to the Pi. If you are using a simple home network, you can probably connect to the default name raspberrypi. If that doesn't work, try getting the Pi's IP address and connecting to the IP instead. The easiest way to find the current IP is to hover over the network icon next to the volume control in the top right corner.
Make sure you have the SSH client enabled on your dev machine. On recent versions of Windows 10, you can run the following command from an elevated PowerShell terminal.
Get-WindowsCapability -Online |? Name -like 'OpenSSH.Client*'
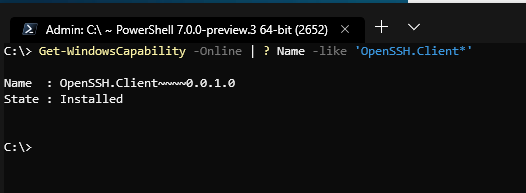
If its not already installed, run
Add-WindowsCapability -Online -Name OpenSSH.Client~~~~0.0.1.0
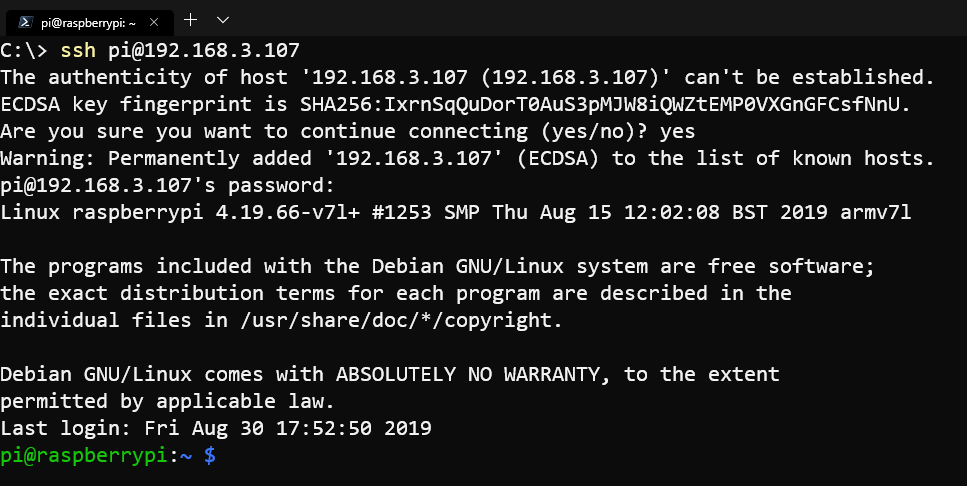
Hopefully, if everything has worked, you should be able to connect.
Connect with VSCode
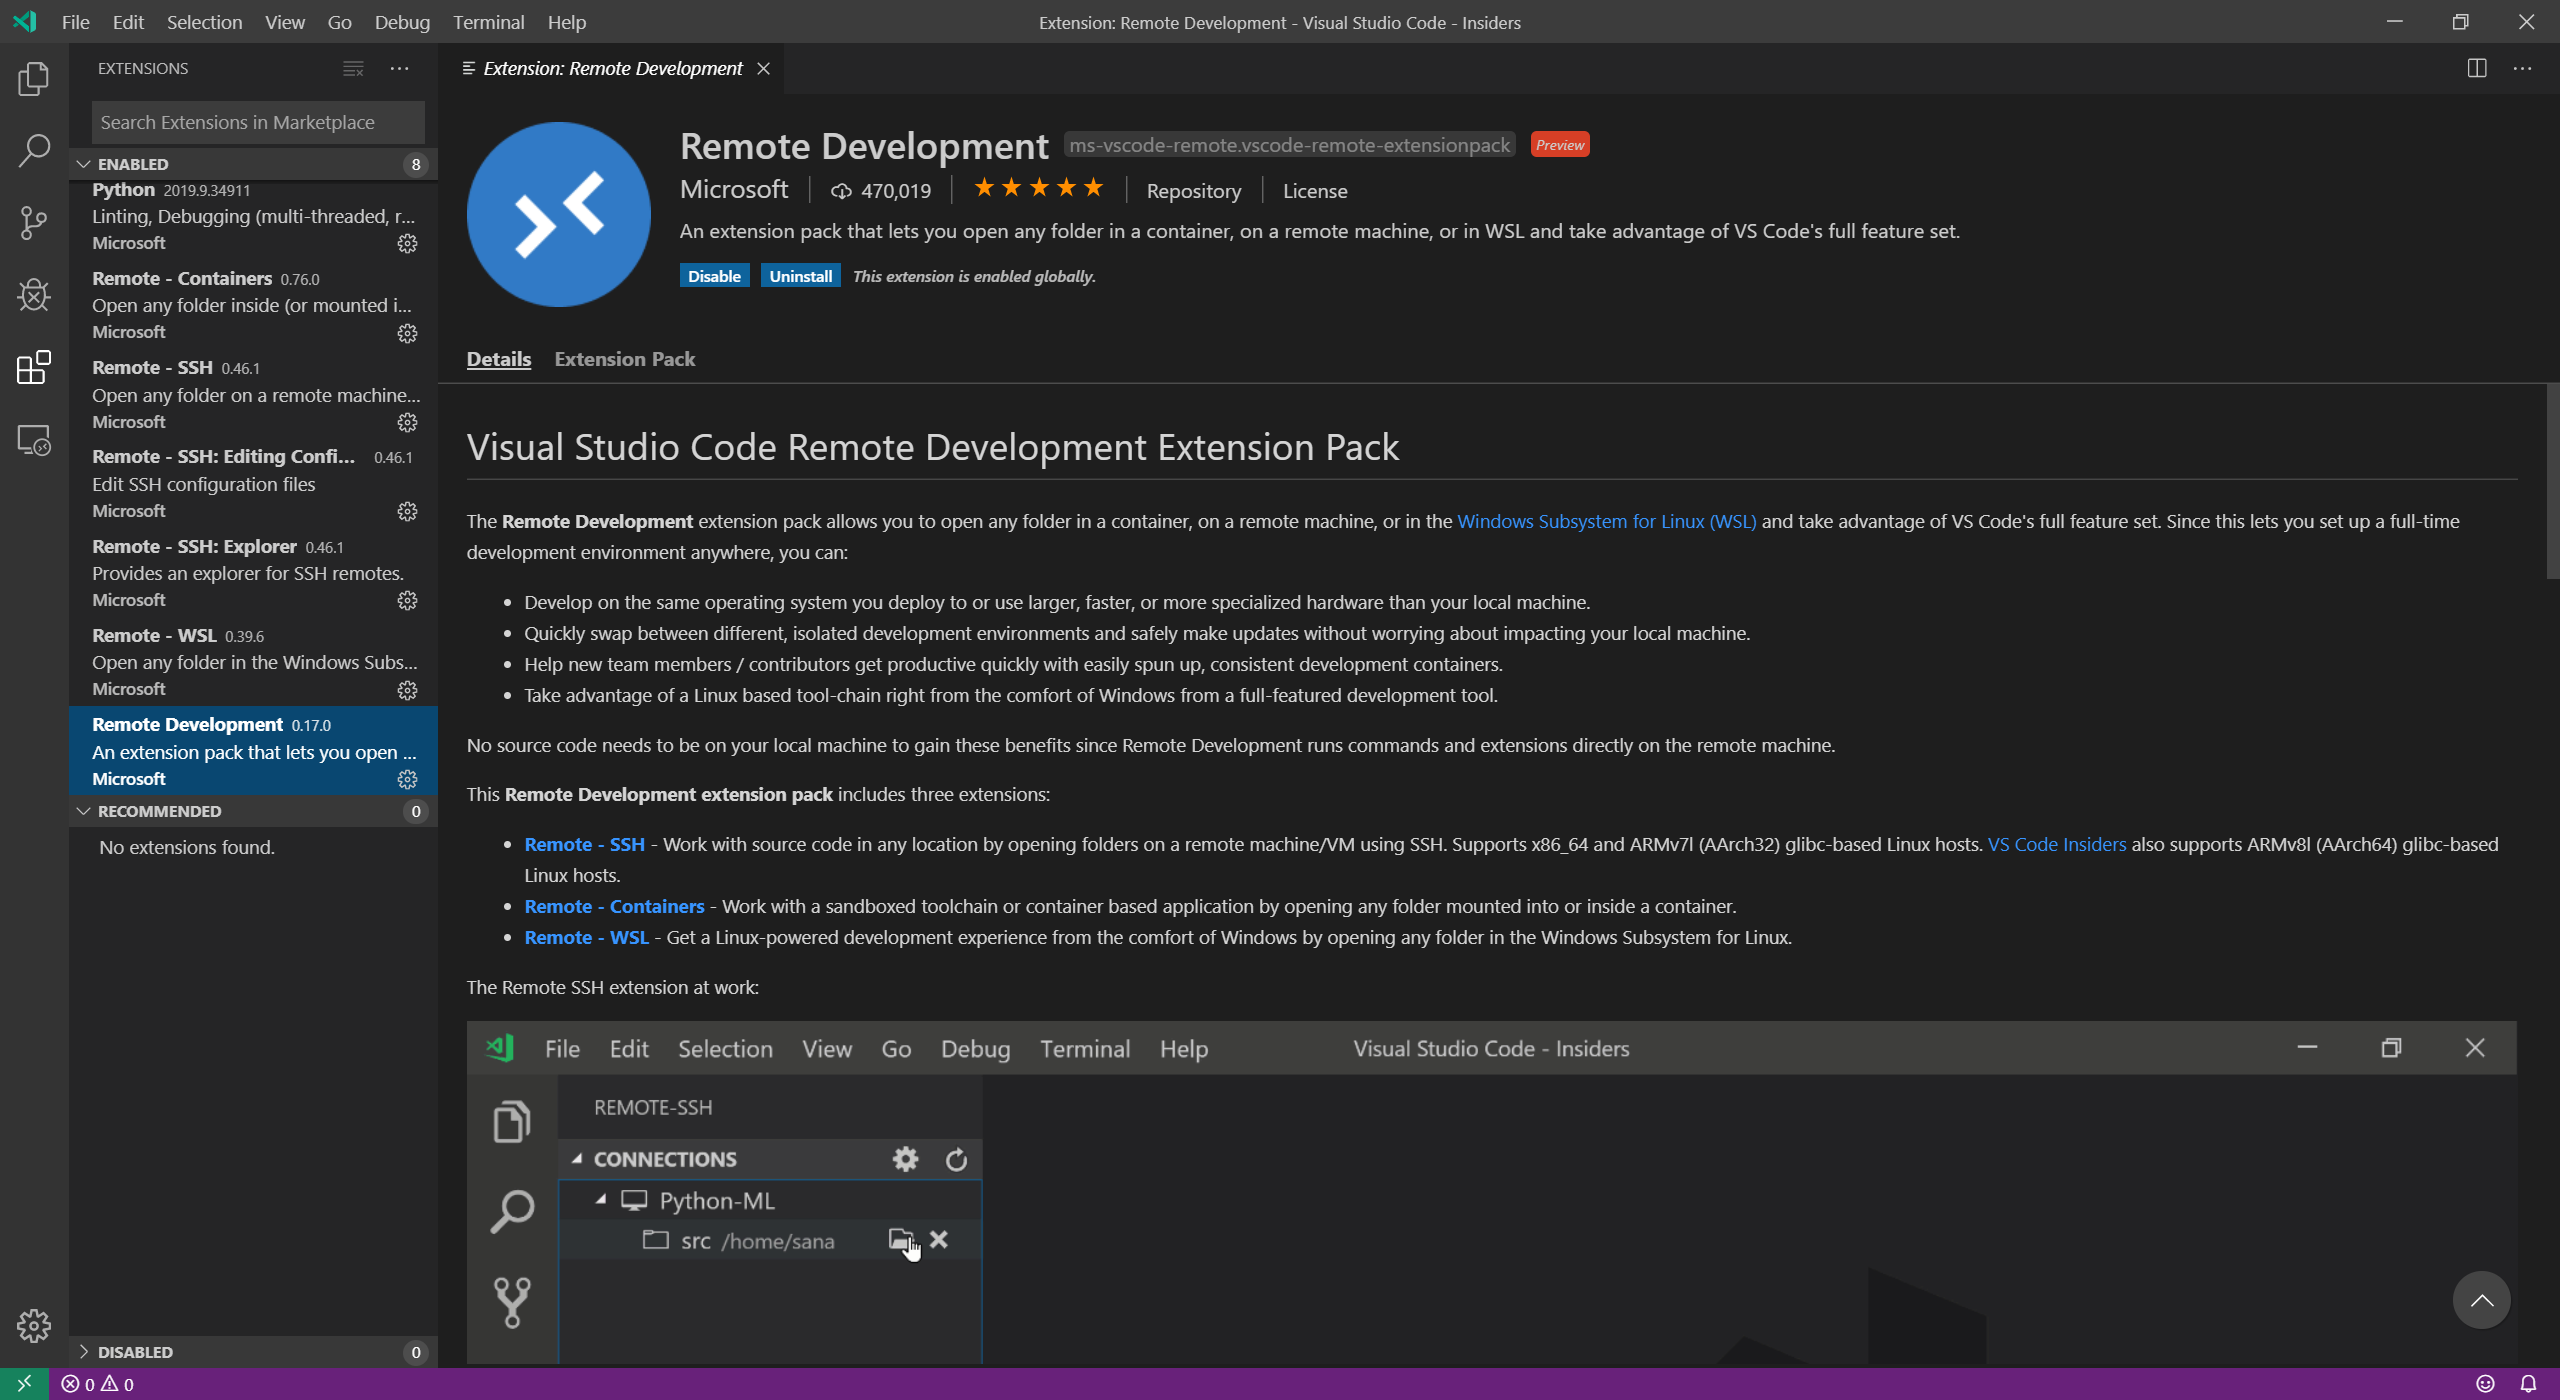
Open Visual Studio Code and if you don't already have them, install the Remote Development Extension Pack
Now while it is possible to go ahead and connect to the Pi with a password, I would highly recommend setting up key based authentication, as any network interruptions/reboots require re-entering the password (which happens a lot, at least it did for me)
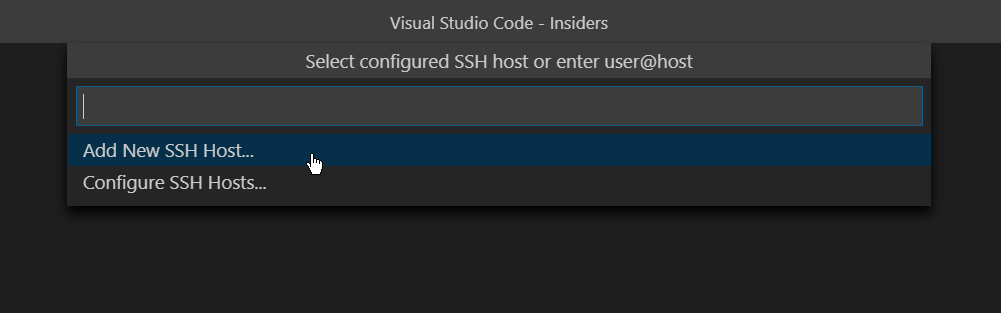
Once the extension is installed, you should find a new remote connection icon in the bottom left corner. Click the icon and then select Remote-SSH Connect to Host...

Then Add New SSH Host...
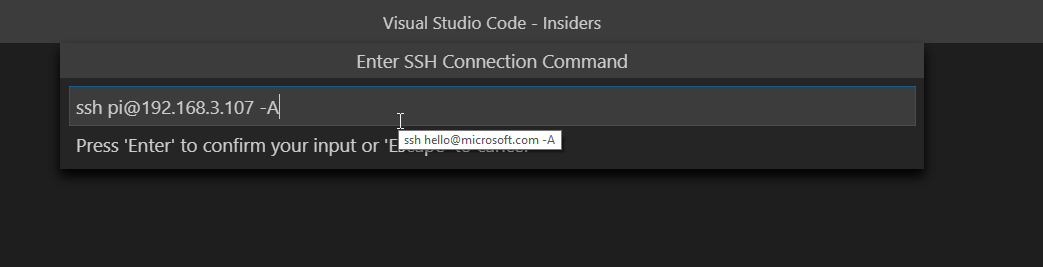
Enter the command ssh pi@<your_pi_host_name> -A substituting <your_pi_host_name> with your value.
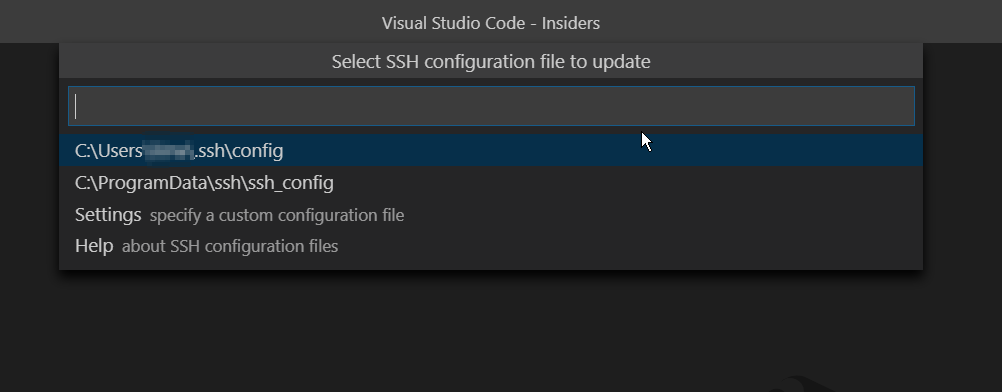
Select which configuration file to save the connection to.
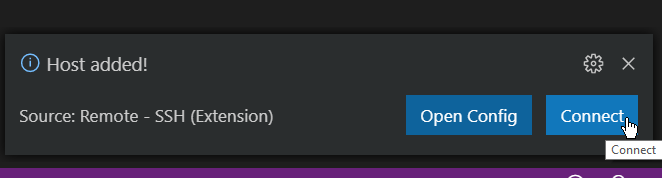
You should get a prompt to connect.
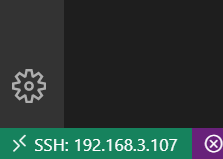
If the computer gods are feeling kind, a new instance of VSCode should launch, with the green icon in the bottom left showing an SSH connection to your Pi!
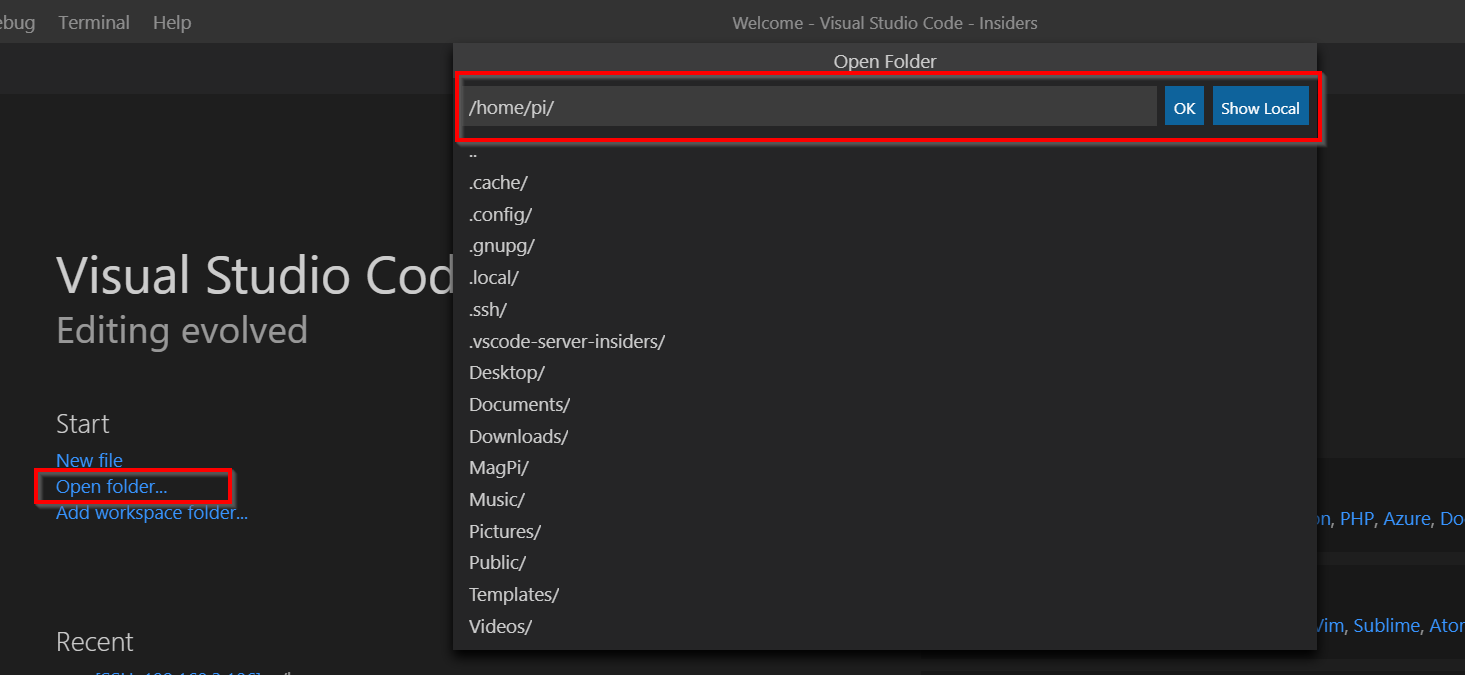
Now you're connected, open the home folder on your Pi.
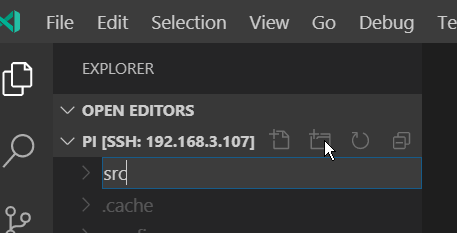
Finally, let's create a folder for our code as a confirmation that everything is working correctly.
Install .Net Core
From the VsCode terminal, we can now easily install .Net Core. You will need at
least .Net Core 3, as earlier versions are not supported with GPIO. At the time of writing its a week before the release of version 3, so I am using the release candidate, but you can update the download URL once it's out.
curl https://download.visualstudio.microsoft.com/download/pr/29f1b10f-758f-44fb-b14c-49833e5379aa/c259e43ccc84a77fdf4ab5feea6774b3/dotnet-sdk-3.0.100-rc1-014190-linux-arm.tar.gz -O
mkdir -p $HOME/dotnet && tar zxf dotnet-sdk-3.0.100-rc1-014190-linux-arm.tar.gz -C $HOME/dotnet
sudo nano ~/.bashrc

Once nano opens, scroll to the bottom and add two new lines:
export DOTNET_ROOT=$HOME/dotnet
export PATH=$PATH:$HOME/dotnet
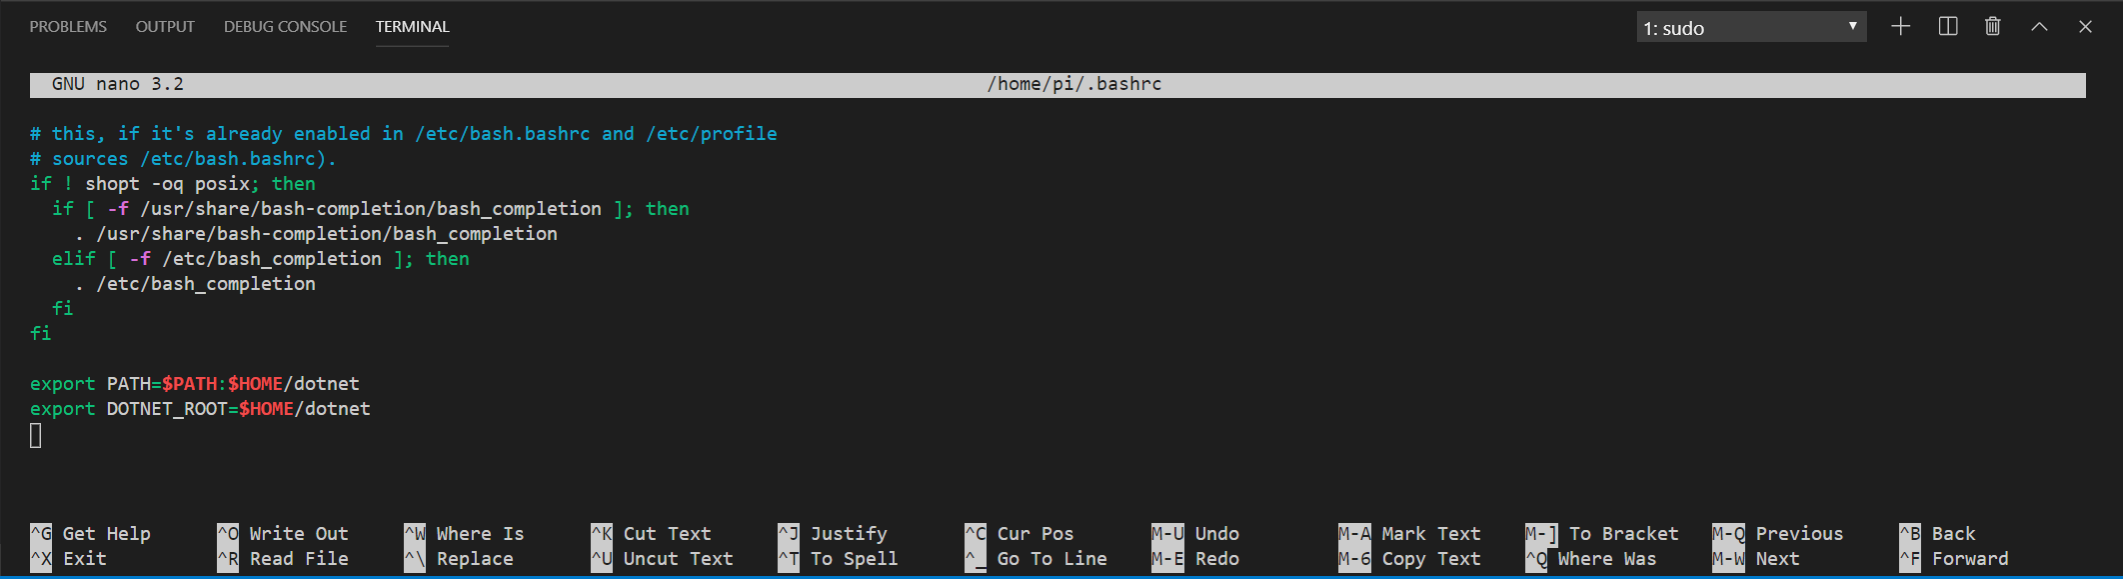
These ensure that the dotnet command works whenever we connect, instead of having to remember to run those two lines manually.
Setup Complete!
Success! We are now in a position to start writing code on the Pi to talk to GPIO devices. In Part 3 of this series, we will, at last, get to writing some code!